Homemade Honey Stick Valentines

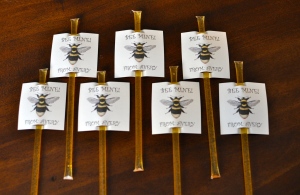
I decided honey sticks would be a good alternative to candy for my daughter’s school valentines this year. I whipped up a little tag using my favorite bee graphic and these little cuties were done in less than an hour!

Honey Stick Valentine Close Up

DSC_0229

Here’s the link to the bee graphic: http://thegraphicsfairy.com/marvelous-bumblebee-clip-art-image/

Home Made Meat Based Baby Formula Recipe

Home made meat based formula is not something that I hope anyone reading this will need. I am posting this recipe because when I needed it so badly 2 years ago I did not know it was an option and could offer a safe, nutritious alternative to commercial formula for babies with food allergies.

When my youngest daughter was almost 6 months old I got the stomach flu and had to start supplimenting formula because my supply dropped off. She had previously been exclusively breast fed and was a very fat, healthy baby who was almost sleeping through the night. Within 2 hours of having her first bottle of commercial baby formula she had a rash on her arm and that night woke up screaming every 45 minutes. I had quite a nice supply of pumped milk stocked up in the freezer but she was burning through it fast and we were scrambling to find a formula she could tolerate. I sincerely believe that we tried every formula available on the market. Soy, lactose free, organic, hydrolyzed, amino acid based… All of them caused her major reflux, vomiting, rashes and near sleepless nights.

When I would take her off of formula, she would improve dramatically within a day or so. Unfortunately though, I reached a point when I did not have enough breast milk and had no choice but to feed her formula. Our lives for 4 months consisted of stress, sickness and very little sleep. I can’t even tell you how many doctors I took her to during that time. Our primary care doctor was very supportive but had run out of formulas for us to try. Specialists couldn’t find anything wrong with her and I started to wonder if I was crazy or was doing something wrong.

Long story short – we ended up at the Allergy Associates of La Crosse in Onalaska Wisconsin. She was allergic to dairy, soy, corn and wheat. There is no commercial formula that is free of all of those ingredients. Our doctor pulled out a 50 year old “allergy friendly” formula recipe that her father (an allergist also) had developed. This recipe has been a life saver for us and we fed it to her for almost a year. It did take some time for her to get over the damage that had been done by the other formulas but within a week or two I had my happy baby back. I did still have to watch what she ate for solid food like a hawk but that’s another story….

Chicken Based Formula

-1/2 tsp Salt

-1 Tbsp Cane Sugar (or honey if your baby is old enough)

-1 tsp Calcium Carbonate

-2 1/2 Tbsp Tapioca Starch

-1/3 C Water

Mix ingredients in blender and then add:

-1 C Strained / Liquified Chicken Meat

-3 Tbsp Safflower Oil

-Infant Vitamin Drops

-Water to make 1 quart

Place chicken in pan and add enough water to just barely cover. Bring to a boil on stove then turn off burner and let set covered until cool. Chicken should now be cooked through. Cut chicken into chunks, put in blender and then add some of the water that the chicken was cooked in so the chicken can be liquified in the blender. Next add all of the other ingredients except for the additional water and freeze in 2 oz cubes. I pull them out of the freezer as needed and add 2 oz of water to each 2 oz of “formula”.

Etsy Sales Trends

When I first opened my Etsy shop I spent a lot of time online looking for information on sales trends.  I was particularly curious about which days of the month had the highest activity levels and what months of the year were the busiest.  I really didn’t find answers to those questions and decided that I would track my own sales history now that my shop has taken off.

I opened my Etsy shop (https://www.etsy.com/shop/NaptimeDIYer) in November of 2013.  The first 2 months were pretty slow but 2014 has been AMAZING so far.  I have been way more busy than I expected and have had to hire some help to keep my turn around time low.

I can’t offer information yet on the busiest months of the year because, since opening my shop 7 months ago, my sales have been growing steadily.  I can, however, offer information on which days of the month have been the busiest for me.  My busiest day has consistently been the 14th. Yesterday was the 14th and it was busy but somehow I still found time to write this today.  Might be a little burnt out…  I think I was due for a break from sewing.

The charts below show the sales trends from my Etsy shop for the first 4 months of 2014.  I looked at both revenue by day and number of sales per day.  The trends are very similar.


Image


Image


Now that I know when my peak busy times are I’m able to adjust my schedule so that I don’t panic when a bunch of sales role in.  I try not to plan things for the middle of the month and usually know that the end of the month is better for taking time off and planning non-Etsy related projects.

Once I’ve completed my first full calendar year I’ll be able to offer more information on the trends by month.

Hope this information is helpful and that I’m not the only neurotic number cruncher out there!

My “New” Old Sander

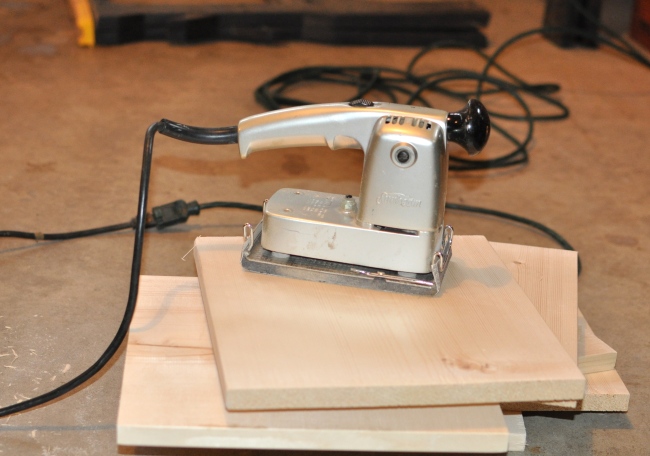
So I talked my grandpa into selling me this little beauty for $5.  Wasn’t totally sure it was going to work but it was cheap and in good shape.  Have been using it for a few weeks now and have to say that it is the best sander I have ever used.

Image

We have 2 modern sanders that I used to think worked just fine but I won’t even look at those now.  This thing is VINTAGE.  My grandpa still had the manual with it and the latest date mentioned that I could find mentioned is 1954.  Its only a 2 prong plug but its solid and quiet and when I’m done sanding I can actually feel my hands.  The palm sander I had been using vibrates so bad my hands would go numb within minutes.  My sand paper even seems to last a lot longer.

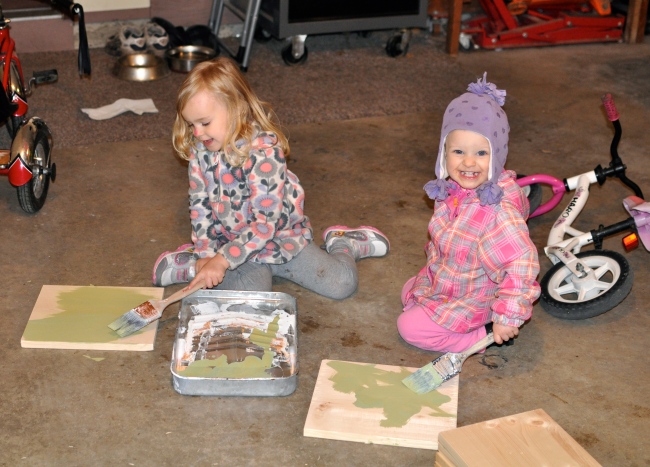
Here’s my helpers painting my freshly sanded wood which will be part of my new closet organization system very soon.  Will post pictures after it’s installed.

Image

Rooster & Hens on Linen Pillow Cover

Yet another awesome graphic from The Graphics Fairy.  I was missing the laying hens that I had to give up when we moved to town and couldn’t resist putting this one on a pillow too.  


Image


You can find the image here: http://thegraphicsfairy.com/free-vintage-chicken-graphics/.  An if you’re interested in purchasing this pillow check out my Etsy shop https://www.etsy.com/listing/187840683/linen-pillow-cover-with-chickens

Kefir Smoothies

Both of our girls have had issues with food since they were very small.  We’ve been gluten free for almost 4 years and our youngest also has pretty major issues with dairy.  This last year we decided to increase our probiotics to see if that would improve some of the digestion issues.  Our whole family took probiotic supplements for a month.  Our girls actually really liked these chewable probiotic tablets by Metagenics http://www.metagenics.com/mp/products/ultraflora-childrens.

We also made our own sauerkraut and I started keeping live kefir.  I have managed to keep my kefir alive for over a year now and we have smoothies for breakfast 2 or 3 times a week.  My youngest, who gets really sick from even small amounts of dairy, is not bothered by the kefir smoothies at all.  Can’t explain why that is exactly but I think the addition of kefir into her diet has really helped her to be able to eat a normal diet without as many issues.

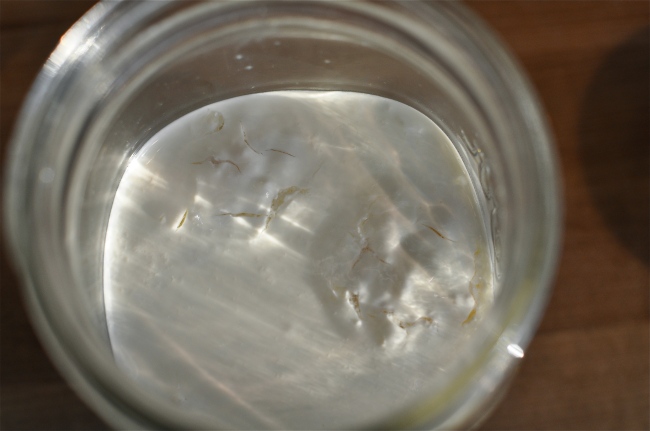
I keep my kefir grains in a mason jar on the counter and this is what they look like when they’ve done their job.  Not a great pic but they stay at the top when done and the bottom of the jar gets watery.

Image


All I do is scoop them out of the jar and put the kefir grains into a new jar to start the process over again.  Depending on how warm it is in my kitchen it usually takes 24 to 36 hours for 2 Tbsp of kefir grains to ferment  2 cups of milk or half and half.

Image


I either use organic whole milk or organic half and half.  I’ve found that using half and half makes a really thick yogurt texture.

Image


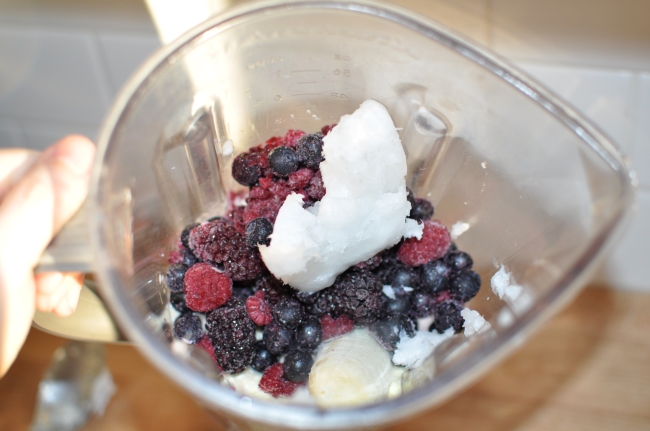
I put the kefir minus the actual grains into the blender and add the following to it:

-Approximately 2 cups kefir “yogurt”

-2 or 3 Tbsp coconut oil

-1/4 Cup orange juice

-1 Cup berries or other fruit

-1 banana or avocado

In the summer when I have fresh spinach from the garden I’ll add a cup or so of that too

Image

Image

If there is any left after breakfast I pour it into popsicle molds in the freezer and have a great healthy alternative to ice-cream for an afternoon snack.


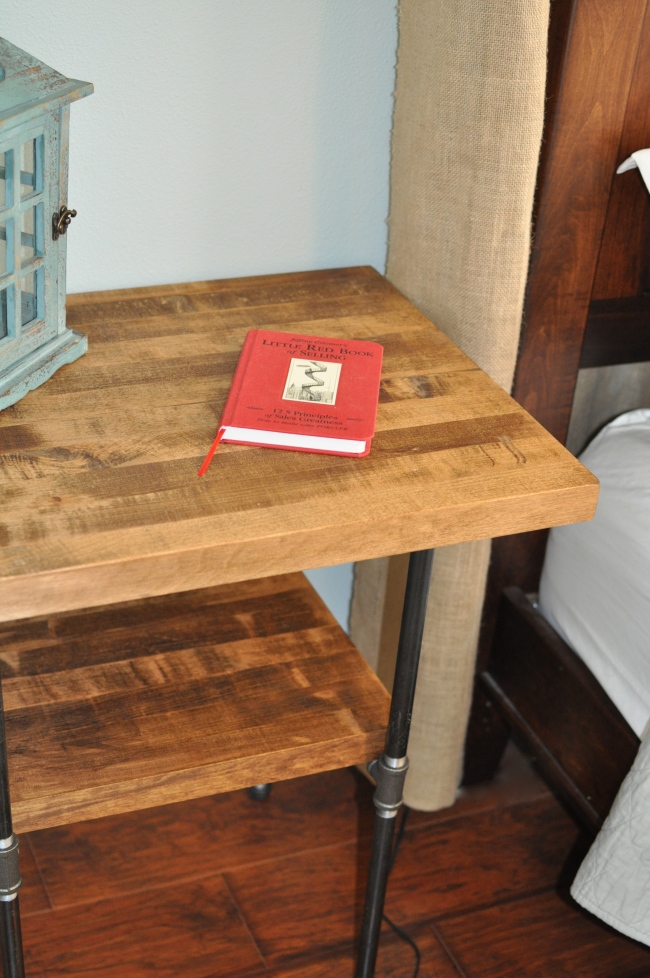
Butcher Block and Iron Pipe Bedside Table

My husband has been asking me to buy him a bedside table since we moved to our new house.  Buy one – right. Silly boy should have know I was gonna build something.  I went on Pinterest and knew immediately that I wanted something industrial.   When I have time I am totally going to build this: http://diyshowoff.com/2014/01/03/pantry-organization/.  This pantry was my inspiration for my table project.


We had some left over butcher block scraps from our kitchen that I was able to use up and only needed around $20 in pipe and fittings from the hardware store to build him a table.  It turned out so well that I already bought the supplies to make side tables for our sunroom.

Image


Was so excited about how well it turned out that I didn’t bother to take the stickers off before posting.  Might be there for another year or so….

Image

All that I used on the butcher block is danish oil.  Don’t really have a preference on brand but this is what I used: http://www.rustoleum.com/en/product-catalog/consumer-brands/watco/danish-oil

Image


Here’s a picture of the pipe and fittings that I used.  All together it only took me an hour once I had the supplies to actually build it.  

Image


This is half of the parts or one leg.  I also added caps as the “feet” of the table.  I used all 3/4″ pipe and fittings.

Essential Oil Blend for Congested Kids

When my girls were little babies it drove me nuts when they had colds and I didn’t know how to help their congestion.  Vick’s in my experience isn’t that great and smells less great.  Decongestants aren’t recommended for small children and I’m really not a fan of them anyway.  Over the years I started adding essential oils to the humidifier and now have a blend that I use every time someone is sick in my house.   It’s effective and smells great.


Humidifier Blend

In the warmer months when the air isn’t as dry I use this diffuser.

Essential Oil Diffuser

Essential Oil Diffuser

I purchased it on Amazon and it can be found here http://www.amazon.com/gp/product/B004GJRG3K/ref=oh_details_o04_s00_i00?ie=UTF8&psc=1


I’ve been really happy with this little diffuser and as an added bonus it lights up and changes colors.  My youngest uses it as a nightlight even when we aren’t using it as a diffuser.
The diffuser holds approximately 1 cup of water and I add the following essential oils to that:

2 Drops Thieves Oil

2 Drops Lavender Oil

2 Drops Peppermint Oil

4  Drops Eucalyptus Oil


In the winter I use a larger humidifier that holds a half gallon and I double or triple the amounts for that.


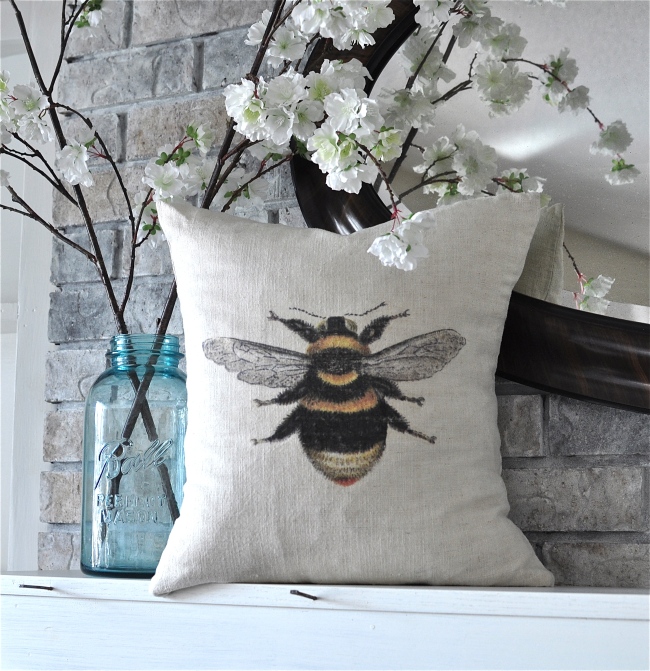
Springtime Bumblebee Pillow

I’m sick of winter!  Today I decided to ignore the snow outside and make some spring pillows.  I think this one might be my new favorite.

Image


I got the awesome bumblebee graphic from www.thegraphicsfairy.com.  Based on her recommendation I always use Lesley Riley’s Tap transfer paper and it works very well as you can see.

Bumblebee on Chair


Want one of your own?  You can find them here: https://www.etsy.com/listing/185120761/bumble-bee-on-100-linen-pillow-cover-18